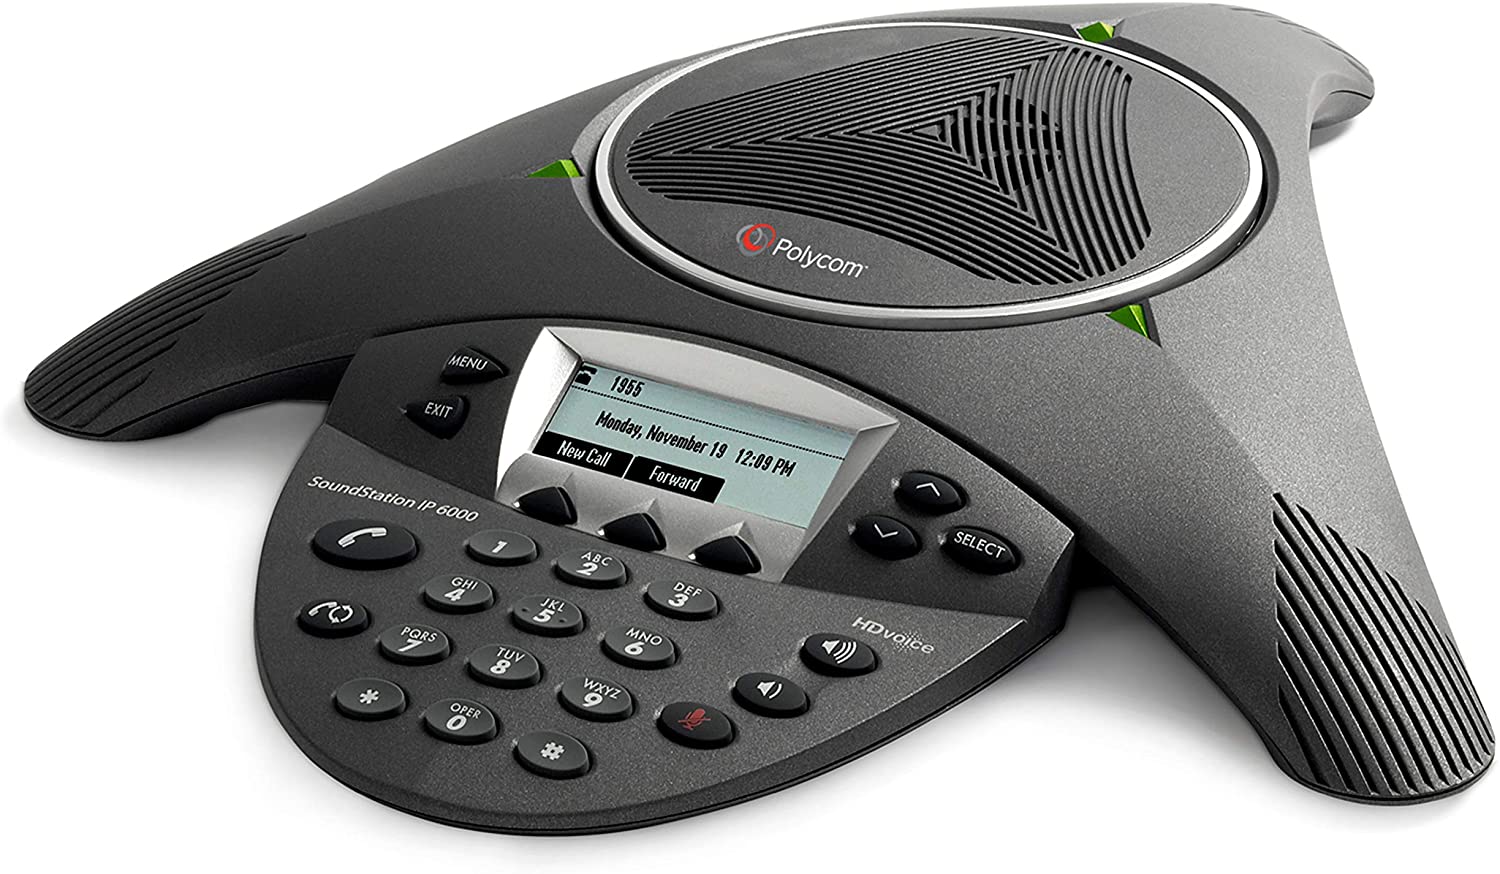
Here are some instructions and screenshots you can use to get the Polycom IP 6000 working with 3CX in the cloud. I run mine on AWS. Per their instructions it states that you can only use phone locally. It is not supported remotely or even with a SBC. Such a shame because it’s still a good phone.
I had found a used Polycom IP 6000 for only $35 on Amazon and figured why not try to get it to work. That is a very cheap price and sometimes people do not have the experience or skills to make these bargain phones work. Truthfully it is also patience.
This particular phone was locked to another company’s network. I did not have the password. Thankfully the skills I learned playing with old Cisco phones and TFTP led me to a way to factory-reset the phone.
I actually did this a few months ago and did not realize that I had not posted any notes. I see that I did not really take any notes either! I only mention this because this is going to be high level.
First, the default password is 456 and you will need the MAC address for the real password. You will need to factory reset the phone. The problem comes in because the TFTP server still keeps the same settings after reset.
- Power cycle the phone
- Press CANCEL during the boot process
- When it starts to countdown press and hold 6,8, and *
- Next, enter the MAC ID from the label on the bottom of the phone. Here is one of the tricky parts. You need to T9 that thing. Meaning you need to have the correct case set to put in the right letter. (a -> 1A) will get you capital letters.
Now remember how I said that the factory reset doesn’t erase the server settings? What that means is the phone will go ahead and redownload the profile from that old server it was connected to. This brings you right back to square 1.
Before we can even get to the point of changing the TFTP server settings I needed to change the firmware. For some reason, probably security, the firmware was missing some important options. You need to flash polycom firmware in order to bring those settings back.
Depending on the firmware number already in the phone will determine which firmware you flash. I remember having a hard time finding the right firmware as polycom’s forums were not as open about it as I had liked. However, the base firmware is out there.
Also, for TFTP that would be another completely separate guide. I use TFTPD64 for my tftp server. I had much better luck with that one compared to the Solar Winds free server. Setting up a TFTP server can very simple or a little nerve racking depending on what you have available on or for your network.
Lets assume you have used TFTP before. In this case you put the files into the tftp directory on your computer. You plug in the phone and the phone goes out and finds the new files and downloads them. If the process is successful you will be able to tell on the reboot because you will have more options to choose from. You need to change the server settings!
I think there is around 10 different parameters. I don’t remember changing all the parameters but I got it right on the 2nd try. You need to set the server to look at the local TFTP server and you also want to remove any passwords on the phone.
Once this is complete I removed the default firmware files from the TFTP directory and put in the 3CX files that I got from 3CX’s site. I rebooted the phone and voila I had a web gui to use!
Using the web gui there may end up being some trial and error but you are basically entering in your extension info and the server will be your cloud IP. Obviously, you have to do this manually as it won’t provision automatically.
I sure hope I did not forget anything but I was really excited to take this $35 phone off of Amazon and make it work. Normally these phones going for a few hundred used. I must say the audio on this thing is excellent! I was worried it would sound bad because of how old it was. Apparently it was not used much.